Open the disk image and drag Celeritas onto the Applications folder beside it. Then macOS refuses to open it the first time.
Why it gets blocked
The app is ad-hoc signed. Notarising it needs a paid Apple Developer account and the lab does not have one. We are working on getting one. Until then Gatekeeper sees an unidentified developer and stops the first open.
Right click and Open used to get past this. macOS 26 removed it, so the ways through are below.
Through System Settings
Double click Celeritas and let it be refused. That refusal is what makes the next button appear.
Open System Settings, go to Privacy & Security, scroll down to the Security section, and press Open Anyway on the line about Celeritas.
That clears the flag Chrome and Safari attach to anything downloaded, for this app only.
Or build it instead
About thirty seconds, and the only thing downloaded is the source itself.
git clone https://github.com/Celeritylabsco/celeritas.git
cd celeritas/app
swift build
./Scripts/build-app.sh
open build/Celeritas.app
Needs Swift 6.2 and macOS 26. No package manager, no Xcode project.
Step 2
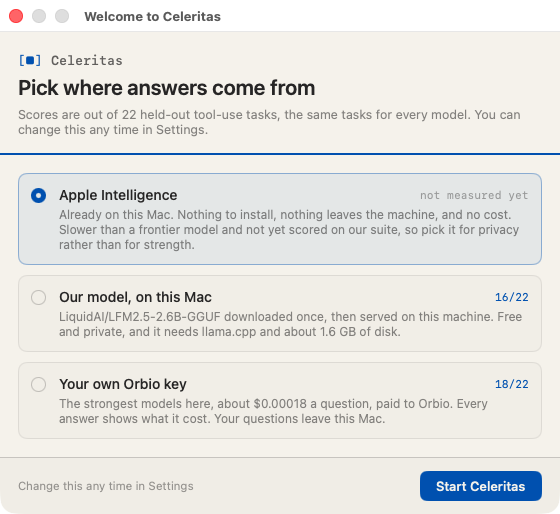
Pick where answers come from.
The first run asks, before anything is sent anywhere. Each option shows what it scored on our own benchmark.
First run
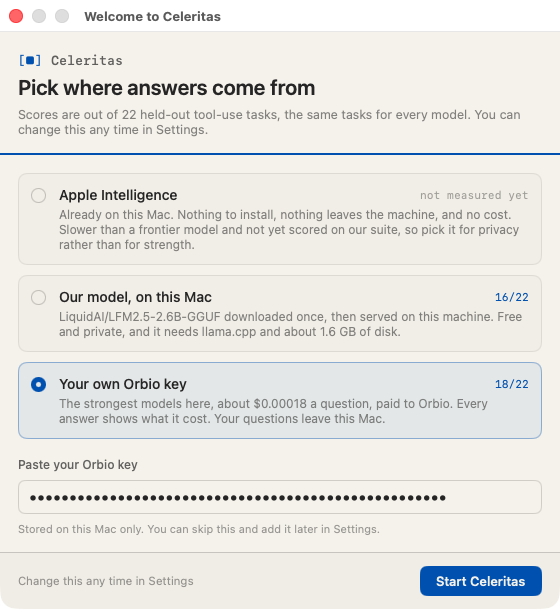
Pasting an Orbio key
Cost
Score
Where it runs
Apple Intelligence
Free
No score
On your Mac, nothing leaves
Our model, on this Mac
Free
16 of 22
On your Mac, about 1.6 GB
Your own Orbio key
about $0.00018 a question
18 of 22
Your question goes to Orbio
We could not score Apple Intelligence. Its API cannot carry on after a tool result without a fresh prompt, and a fresh prompt reads to it as a new and unclear request, so it gives up on the second step. One step works, and it is quick.
Most people want the Orbio key
It takes a minute and needs no card.
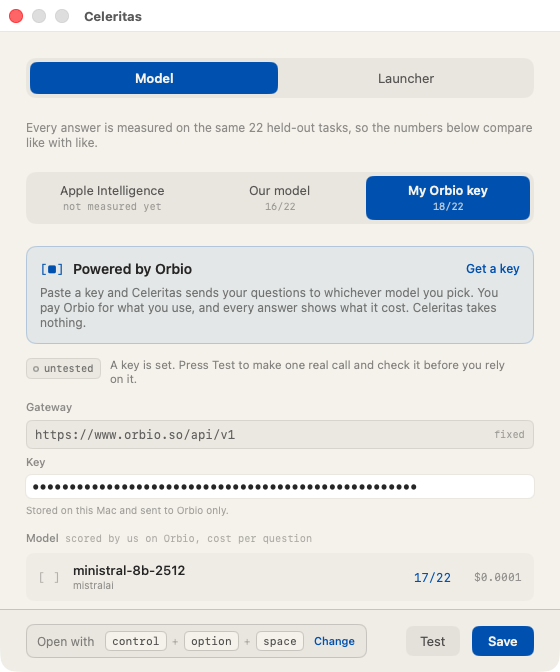
Sign in at orbio.so, copy the key, paste it into the box on the first run. Your questions then go straight to Orbio on your own key. You pay Orbio for what you use, every answer shows what it cost, and Celeritas takes nothing on top. There is no account with us and no markup.